
Reviewed · PHOTOGRAPHY SESSIONS
Discover Photography
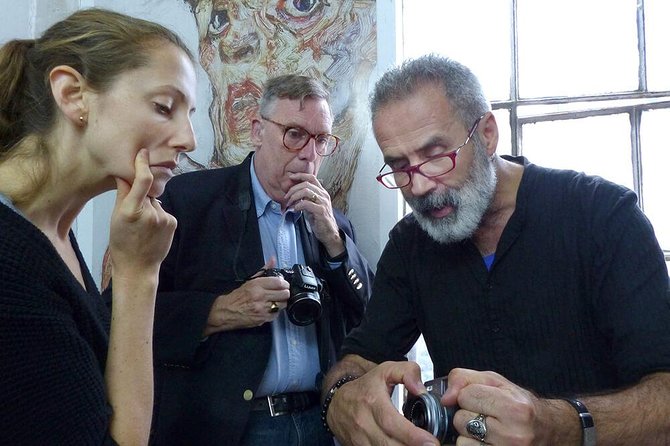
The camera finally makes sense. This two-and-a-half-hour London course gives beginners a friendly way to move beyond automatic mode, with hands-on practice in aperture, shutter speed, ISO, lenses, and composition. I like the small group of no more than 12, which should leave room for questions, and I like that the class includes practical work rather than stopping at a lecture. The main consideration is your equipment: you need a DSLR or compact digital camera with manual settings to get the full benefit.
The course costs $95.80 per person, a fair price if you want personal help with a camera you already own. It is less useful if you mainly shoot with a phone, although one supplied account describes an enjoyable iPhone session, so it is worth confirming the exact class format before booking. The non-refundable policy also means you should check your schedule carefully.
In This Review
- Key points about Discover Photography
- What this London photography course is really teaching
- Starting at Westland Place Studios
- The first lesson: aperture, shutter speed, and ISO
- Switching from automatic to manual without panic
- Lenses, focal length, and perspective
- Composition and the problem of taking too much
- Color temperature and white balance
- The teaching style and the people behind it
- How much value do you get for $95.80?
- Who should book this course?
- Should you book Discover Photography?
- FAQ
- Where does the photography course start?
- Where does the activity finish?
- How long does Discover Photography last?
- How many people can attend?
- What camera do I need?
- Is the experience refundable or changeable?
Key points about Discover Photography
- A small London class: The group is capped at 12 people, giving you a better chance to ask about your own camera.
- Manual settings made practical: You work with aperture, shutter speed, ISO, exposure, and white balance instead of simply hearing definitions.
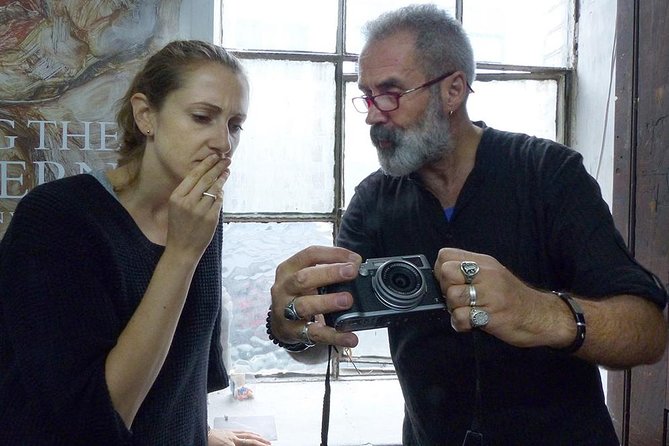
- Hands-on instruction: A practical exercise explores how aperture and shutter speed change the final image.
- Award-winning teaching: The course is led by an award-winning photographer, with Vehbi Koca and Pierre praised for clear explanations and patient help.
- Useful beyond one London outing: The lessons cover focal length, perspective, composition, lenses, and color temperature, all skills you can use on future trips.
What this London photography course is really teaching
Many beginner photography classes promise to explain the camera, then leave you with a page of terms and a confused expression. This course aims at a more useful result: helping you understand why a picture looks the way it does and which setting can change it.
You work through the basic relationship between aperture, shutter speed, and ISO. These three controls affect exposure, but they also affect the look of a picture. Aperture changes how much of the image appears sharp and influences depth of field. Shutter speed controls how motion is recorded. ISO affects the camera’s sensitivity to light and can influence image quality.
That combination matters when you are sightseeing. A bright outdoor scene may call for a different approach from an indoor room, a moving subject, or a detail you want to isolate against a soft background. Automatic mode can produce a usable picture, but it cannot always guess the creative result you want.
The course also covers semi-automatic modes. This is helpful because you do not have to leap from full automatic to total manual control in one dramatic afternoon. You can begin with one setting under your control, then learn how the other controls respond.
More Photo Tours in London:
- Professional Photoshoot in London Photographer
★ 5.0 · 102 reviews - Private landmarks photoshoot for families and couples
★ 5.0 · 92 reviews - 30 Major London Attractions Walking Tour With Photos
★ 4.5 · 51 reviews
Starting at Westland Place Studios
The class begins at Westland Place Studios3, 11 Westland Place, London N1 7LP. The activity ends back at this same meeting point, and the location is near public transportation.
That return to the starting point keeps the session simple. You do not need to arrange a separate pickup or work out where the class finishes. Still, I would allow enough time to find the address, especially since a photography course depends on arriving with your camera ready rather than rushing in while searching for the door.
The meeting point is in London, but this is not presented as a sightseeing tour with a long list of famous landmarks. The focus is photography instruction. That is good news if you want to improve your skills rather than spend most of the session following a guide from one attraction to another.
Bring the camera you actually plan to use on trips. Familiarity with your own buttons and menus will make the lessons more useful. If you have several lenses, bring the one you can comfortably manage, and check the camera battery before class.
The first lesson: aperture, shutter speed, and ISO
The early part of the session introduces the controls that shape every exposure. You learn what aperture does, how shutter speed affects an image, and how ISO fits into the decision.
Aperture is often introduced through depth of field. A wider aperture can help separate a subject from its surroundings, while a smaller aperture can keep more of a scene sharp. The point is not to memorize a set of numbers. It is to understand what you want the picture to say and choose a setting that supports it.
Shutter speed is equally important. A faster setting can help record movement clearly, while a slower one can produce a different sense of motion. The practical exercise is valuable here because the effect is easier to understand when you can change a setting and inspect the result.
ISO completes the basic exposure relationship. If the light changes, you need to know which control to adjust and what trade-off comes with that choice. A beginner who understands these connections is less likely to turn a dial at random and hope for the best.
I like this structure because it connects technical information to visual results. You are not only learning that a setting exists. You are learning what that setting does to the picture.
Switching from automatic to manual without panic
Manual mode can feel like too much at first. The advantage of this class is that it also covers semi-automatic settings, giving you a practical middle step.
You might begin by choosing the aperture while the camera handles some of the other exposure work. Or you might control shutter speed when motion is the main concern. These modes let you make a creative decision without taking responsibility for every setting at once.
The course then moves toward manual operation, where you control the exposure yourself. That progression makes sense for beginners. It lets you see how the camera behaves before asking you to manage the full combination of aperture, shutter speed, and ISO.
The useful question is not simply Can I operate manual mode? It is Do I know when manual mode is worth using? In changing conditions, automatic or semi-automatic settings may be quicker. In a scene where you want a precise creative effect, manual control can give you more consistency.
That practical judgment is one of the better reasons to take a class rather than learn only from a camera manual.
A few more to weigh up in London
- Stonehenge, Windsor Castle, and Bath from London
★ 4.5 · 18,662 reviews - London Big Bus Hop-On Hop-Off Tour with Optional River Cruise
★ 3.5 · 10,803 reviews - London Small Group Tour of Historical Pubs
★ 5.0 · 10,422 reviews - Stonehenge, Windsor Castle and Bath with Pub Lunch in Lacock
★ 4.5 · 7,402 reviews
Lenses, focal length, and perspective
A camera body is only part of the picture. The session covers lenses, focal length, angle of view, and perspective, which helps explain why two lenses can make the same subject look very different.
Focal length affects how much of a scene fits into the frame. It also changes how close or far away you appear to be from your subject and how the relationship between foreground and background is shown.
Angle of view is especially useful when photographing architecture, interiors, or groups. A wider view can include more, while a narrower view can help concentrate attention on one part of a scene. These choices are not just technical. They influence what you leave out, which is often as important as what you include.
Perspective depends on your position as well as your lens. Moving closer, stepping back, or changing your viewpoint can alter the relationship between objects in the image. A short lesson on this can improve your photographs quickly because it encourages you to move and think before pressing the shutter.
You should not expect a full specialist lens workshop in two and a half hours. You should expect a useful foundation for choosing a lens and understanding why your pictures do not always resemble what your eye saw.
Composition and the problem of taking too much
The course includes composition, a subject that can sound vague until you apply it to a real frame. Composition is the way you arrange lines, shapes, color, subjects, and empty space.
London gives you plenty to photograph, but an interesting place does not automatically make an interesting image. You still need to decide what belongs in the frame, where the main subject sits, and whether the background helps or distracts.
This is where the practical work matters. The course includes an exercise that explores the effects of aperture and shutter speed, and one account of the class describes applying the theory outside. That combination gives you a chance to test ideas instead of treating photography as a set of abstract rules.
I would pay close attention to how the instructor explains mistakes. A picture that is too dark, too bright, too busy, or blurred can show you more than a perfect example. The goal is not to produce a masterpiece during the class. It is to understand what you would change next time.
Color temperature and white balance
The class also explains color temperature and white balance. These settings affect whether a picture appears warm, cool, or closer to the colors you saw.
Different light sources can make a scene look unexpectedly yellow or blue. Automatic white balance often does a reasonable job, but it may not match the mood you want. Learning the basics helps you recognize when the camera has misread the light and how to correct it.
This is an easy topic to overlook because exposure settings often get all the attention. Yet color can change the feel of a travel photograph. A street scene, an indoor market, and a cloudy afternoon may each require a different approach.
You do not need to become a color specialist. You need to leave knowing where the white balance control is and why it matters.
The teaching style and the people behind it
The course is led by an award-winning photographer. The strongest praise centers on the teaching rather than on the location or equipment.
Vehbi Koca is described as an entertaining mentor who explains ideas simply and encourages experimentation with different cameras. That last point matters because beginners often worry that their camera is too basic or too unusual for a class. The stated requirement is a DSLR or compact digital camera with manual settings, and the teaching approach appears to focus on helping you work with the equipment you have.
Another account praises Vehbi’s willingness to help, along with his clear methods. That suggests a class where questions are welcome instead of one where the instructor races through a fixed speech.
Pierre is also praised for answering questions and making sure everyone kept up with the tips and information. If your session is led by Pierre, you can expect a patient teaching style based on the available feedback. The exact instructor may depend on the date, so do not assume you will receive the same tutor every time.
The small group limit of 12 supports this style. It is not a private lesson, but it is also not a large auditorium class. You should have a reasonable chance to ask how a particular setting works on your camera.
How much value do you get for $95.80?
At $95.80, this is not an impulse activity like a short photo walk. You are paying for instruction that can keep helping you after the class ends.
The value is strongest if you own a camera with manual settings but rarely use them. A clear explanation of exposure, lenses, and white balance can save you hours of trial and error. It may also help you avoid buying new equipment when the real problem is that the current camera settings are unfamiliar.
The price is harder to justify if you already understand aperture priority, shutter priority, manual exposure, focal length, and white balance. In that case, much of the class may repeat material you know.
The advertised experience is for DSLR and compact digital cameras with manual settings. One supplied account describes an iPhone photography session that was enjoyable and informative, including help with phone settings. Since that may be a separate format or session, I would confirm the equipment requirements before paying. If you only carry a phone, do not assume this particular course is designed for it.
With a maximum of 12 people and an award-winning photographer leading the lesson, the cost can be reasonable for a focused beginner course. The real return comes from using the skills afterward, not from the two and a half hours alone.
Who should book this course?
I would recommend it to you if:
- You own a DSLR or compact digital camera with manual controls.
- You mostly use automatic mode and want to understand the alternatives.
- You learn better by changing settings and seeing the result.
- You want a compact class during a London stay.
- You need help with your own camera rather than general photography theory.
- You enjoy asking questions in a small group.
It may not suit you if you want a sightseeing tour centered on London landmarks. It may also disappoint you if you expect an advanced masterclass on studio lighting, professional editing, or specialist lenses. None of those subjects is promised here.
The minimum age is 18. The additional information also says children must be accompanied by an adult and both need paid tickets, so check this point directly if you are booking for anyone under 18.
The mobile ticket is convenient, and confirmation arrives when you book. The experience is non-refundable and cannot be changed, so check your date, camera type, and availability before committing. The class also requires a minimum number of participants, and if that minimum is not reached, you would be offered another date or experience, or a full refund.
Should you book Discover Photography?
Book it if your camera has manual settings and you want practical help using them. The small group, hands-on exposure exercise, and patient teaching style make this a useful step beyond automatic mode.
I especially like the focus on understanding cause and effect. You should leave knowing not only where to find aperture, shutter speed, ISO, and white balance, but also why you might choose one setting over another.
Skip it if you mainly use a phone without confirming the format, or if you already work comfortably in manual mode. For the right beginner, though, $95.80 buys more than a few pleasant hours in London. It gives you a better chance of returning home with photographs that match what you intended to capture.
FAQ
Where does the photography course start?
It starts at Westland Place Studios3, 11 Westland Place, London N1 7LP, UK.
Where does the activity finish?
The activity ends back at the meeting point.
How long does Discover Photography last?
The course lasts approximately 2 hours and 30 minutes.
How many people can attend?
The group has a maximum of 12 participants.
What camera do I need?
You need a DSLR camera or a compact digital camera with manual settings to get the most from the course.
Is the experience refundable or changeable?
No. The experience is non-refundable and cannot be changed for any reason. If the minimum number of participants is not reached and the provider cancels, you will be offered another date or experience, or a full refund.
Just added in London
- Private Transfers between London & Windsor★ 5.0 · 9 reviews
- Private Transfer: Heathrow Airport to London Kings Cross or St Pancras Stations★ 5.0 · 3 reviews
- London to Southampton Transfers★ 5.0 · 7 reviews
- Private 3-hour Tour of The Iconic Tower of London & Tower Bridge★ 4.5 · 6 reviews
- London to Southampton Cruise Port | Private Transfer★ 5.0 · 6 reviews
- Private Tour to Westminster Abbey with optional Houses of Parliament in London★ 4.0 · 15 reviews
- Private Tours to Stonehenge & Oxford★ 4.0 · 4 reviews
- Private Tour to Stonehenge and Windsor Castle★ 5.0 · 11 reviews
Photography Sessions, compared.
Professional Photoshoot in London Photographer
Read our review →
Private landmarks photoshoot for families and couples
Read our review →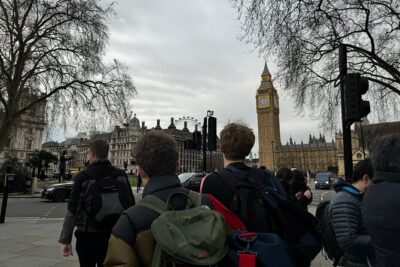
30 Major London Attractions Walking Tour With Photos
Read our review →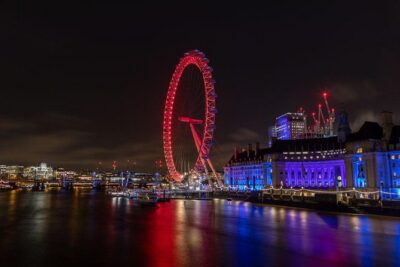
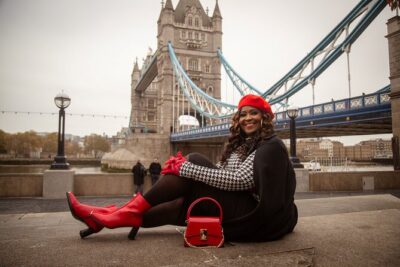
Private Landmarks with a Professional Photographer
Read our review →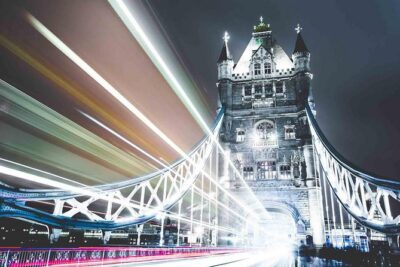
Private Tour: Personal Travel Photographer Tour in London
Read our review →
Browse the lists this tour appears in